For this project, I had to make 3 objects: a water bottle, a note book front and rear cover, and a 3D object found on Thingverse.com.
The water bottle:
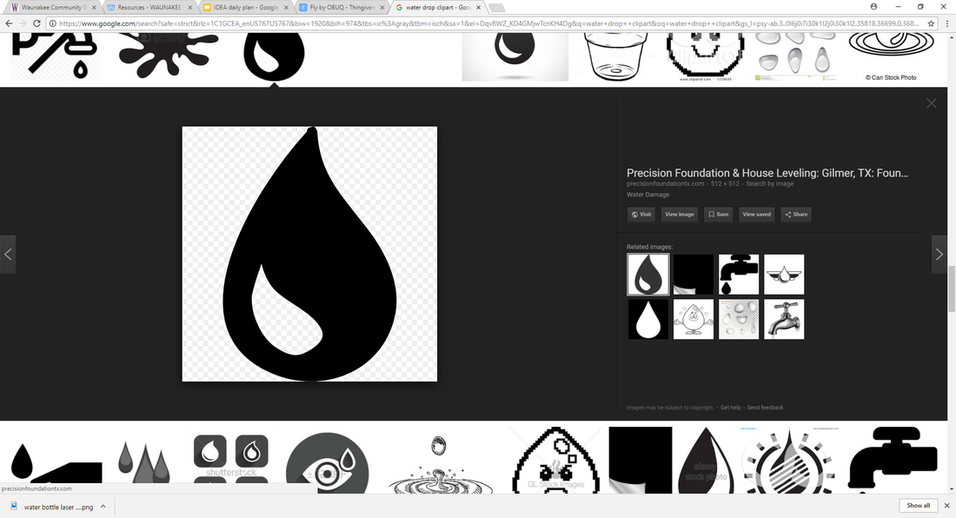
For this item, I needed to find a picture on internet, and add text to it. After looking around for a black and white clip art, I found a few that gave me some ideas, but I saw a water drop that I thought would go well on the water bottle.
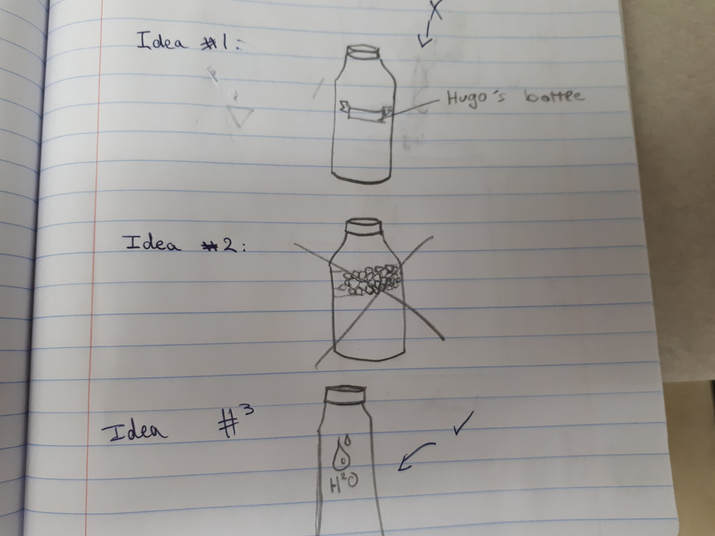
I sketched different water bottle designs but the one with the water bottle was my favorite. I got the idea to right the water molecule (H2O) under the drop. I was happy with the look of that design.
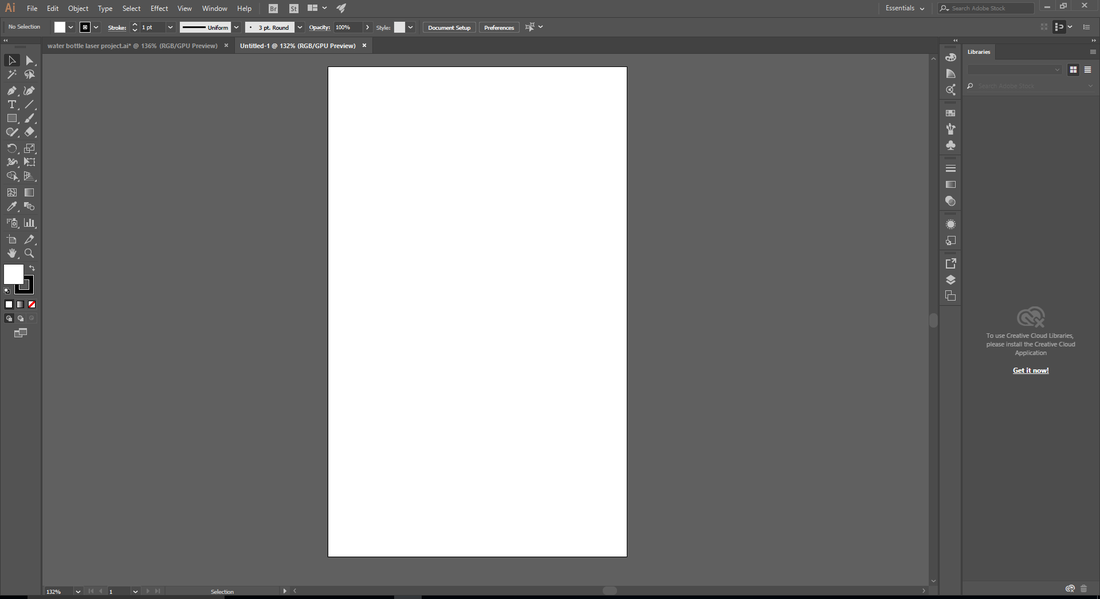
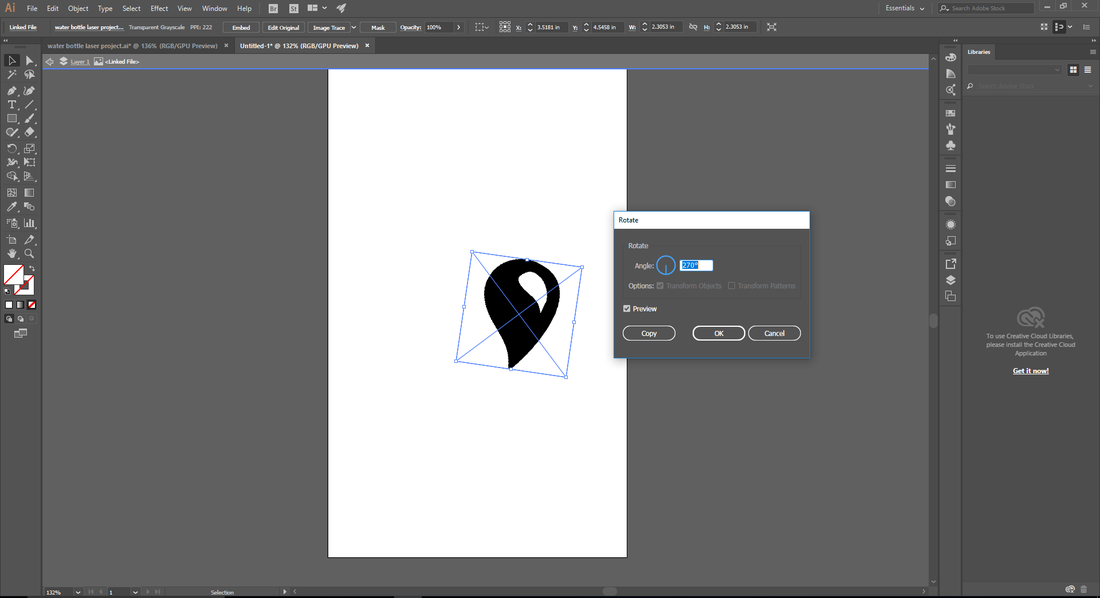
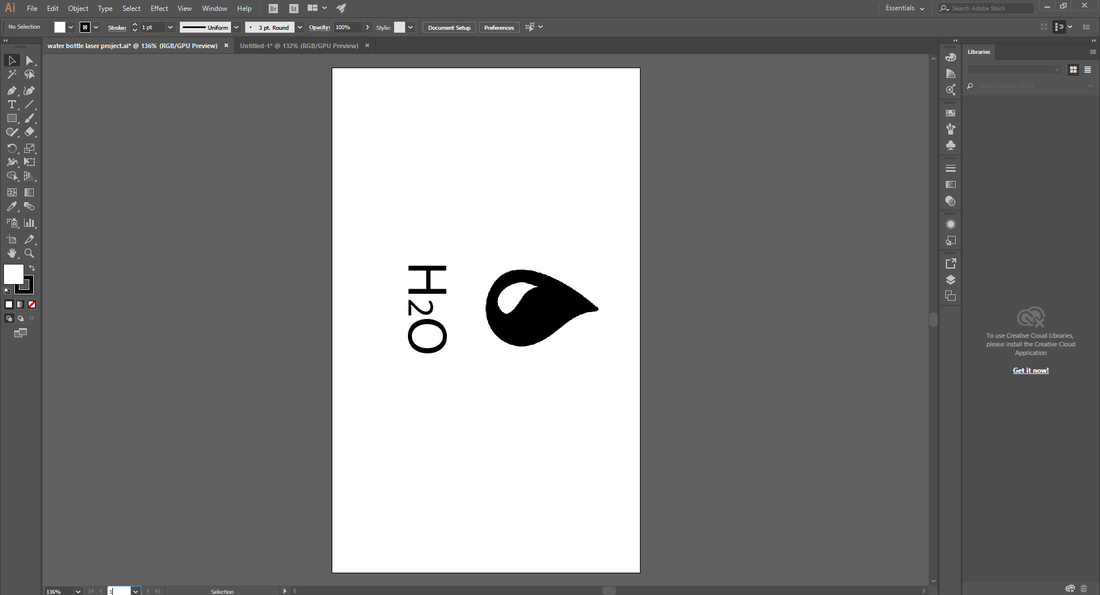
I was happy with the design, so I opened Illustrator to start creating the file. I opened a new 5.5x9in document, and pasted the water drop image. I shrunk it until it was at in good size, and rotated it 270 degrees. I rotated it because this file will be engraved onto a water bottle, and a bottle isn't flat, it's curved. So we are going to use a rotational part to turn the bottle around when it's being engraved. The 9in represent the circumference of the bottle. That is why I am rotating my image, because the top of the bottle is the right side of the rectangle (in illustrator). I than added text, adjusted the size and the font of it, and rotated it like the image. I than saved the file on a USB drive.
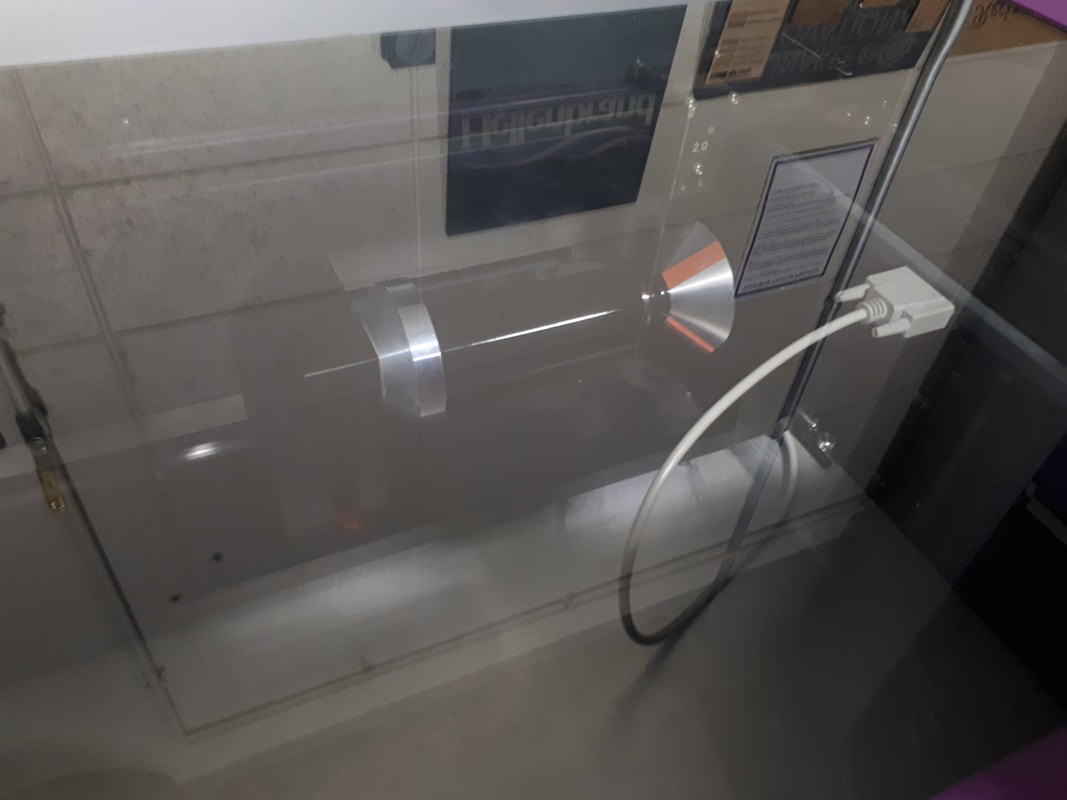
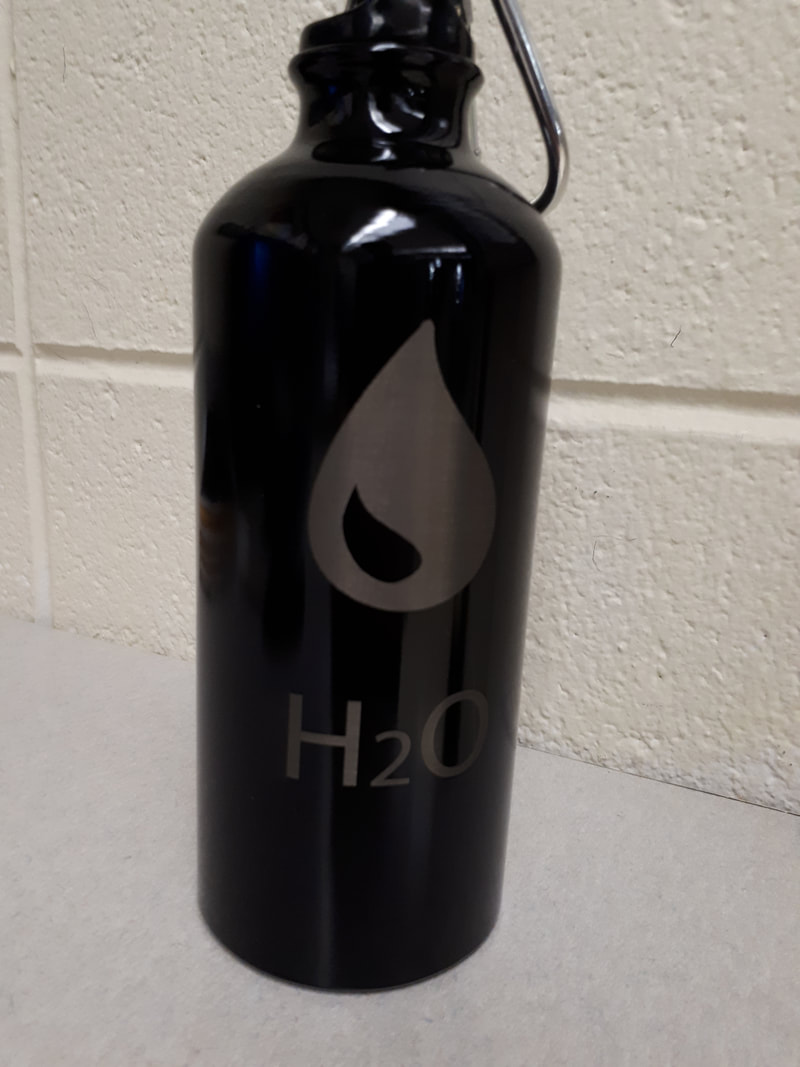
With some help, I installed the rotational part for the laser cutter and inserted my water bottle. I plugged the the USB drive and opened my file, clicked on print, opened the UCP, adjusted the image to my bottle, and pressed play. After a few seconds my bottle was engraved and ready! The result is, in my opinion, really good!
The laser cut 3D object:
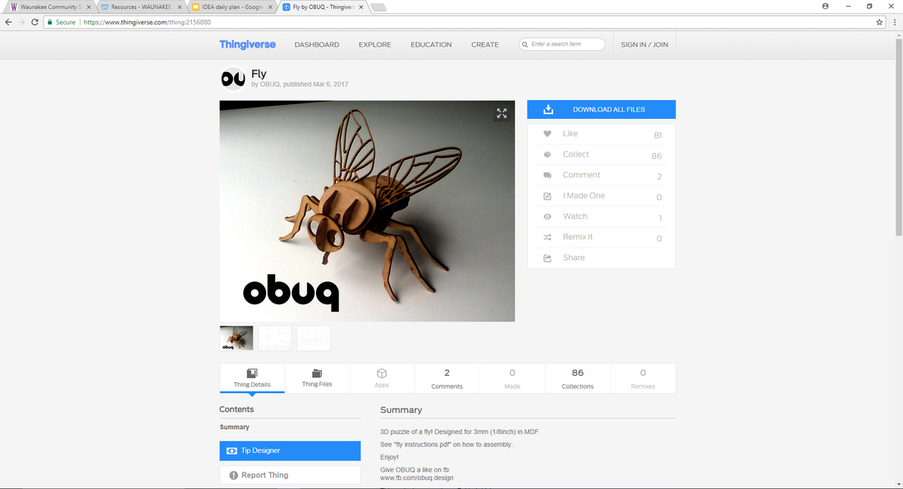
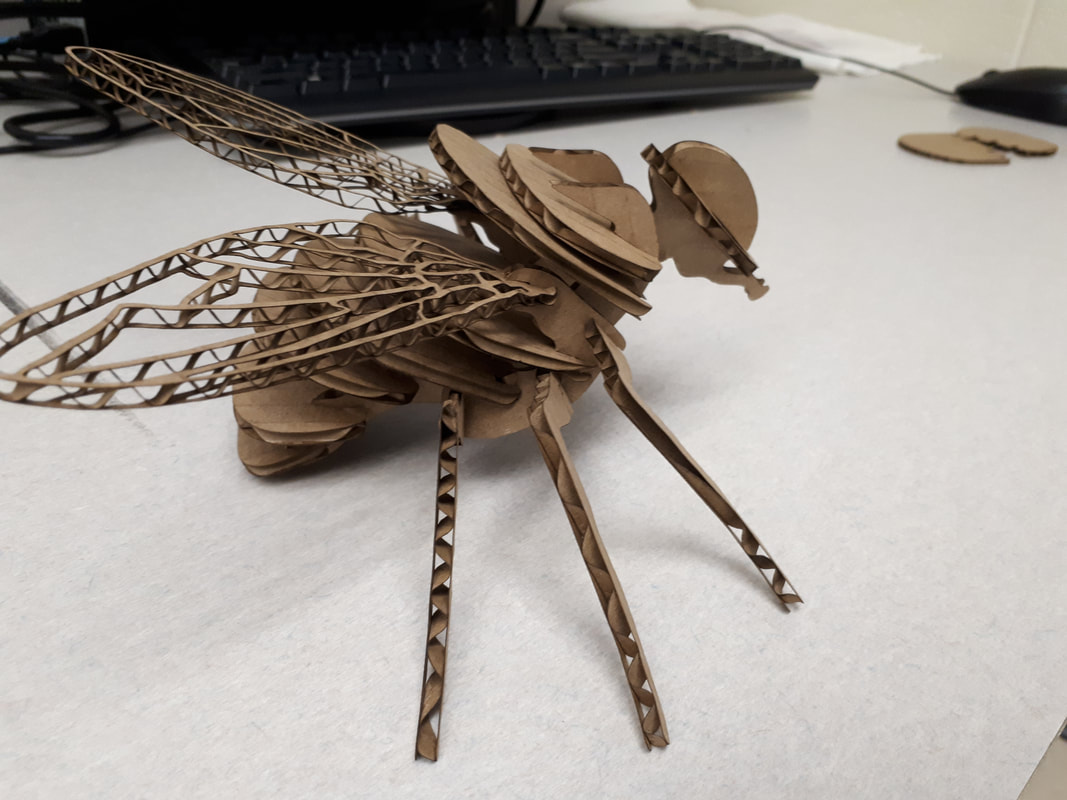
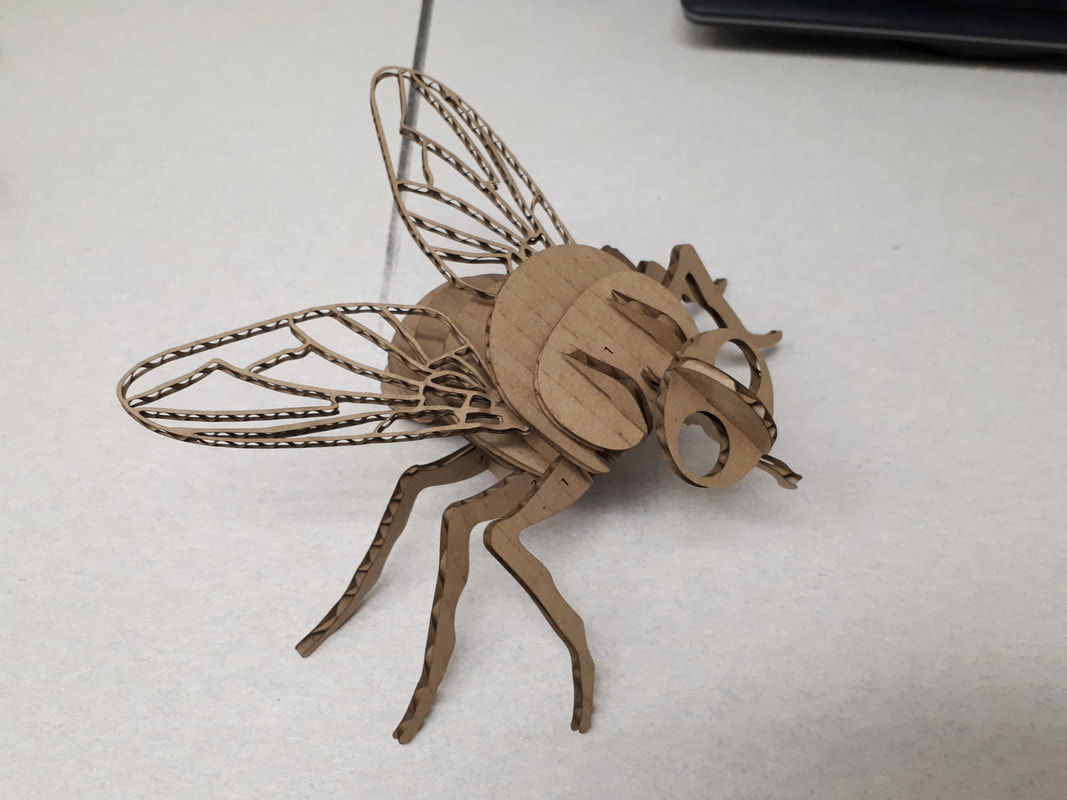
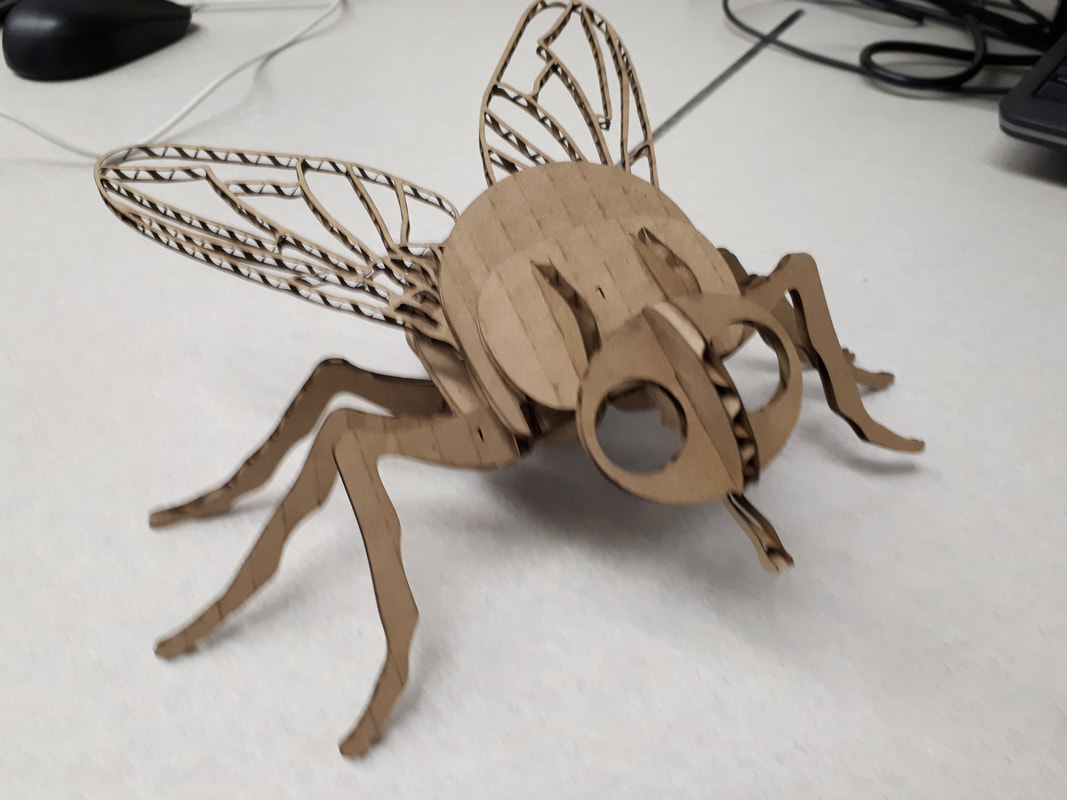
This item was pretty easy to make, because I didn't really have to do much. I went on thingverse.com and looked for "3D laser cutting". I scrolled down and found this fly 3D puzzle. It looked great and I knew I wanted that one. I downloaded the the file.
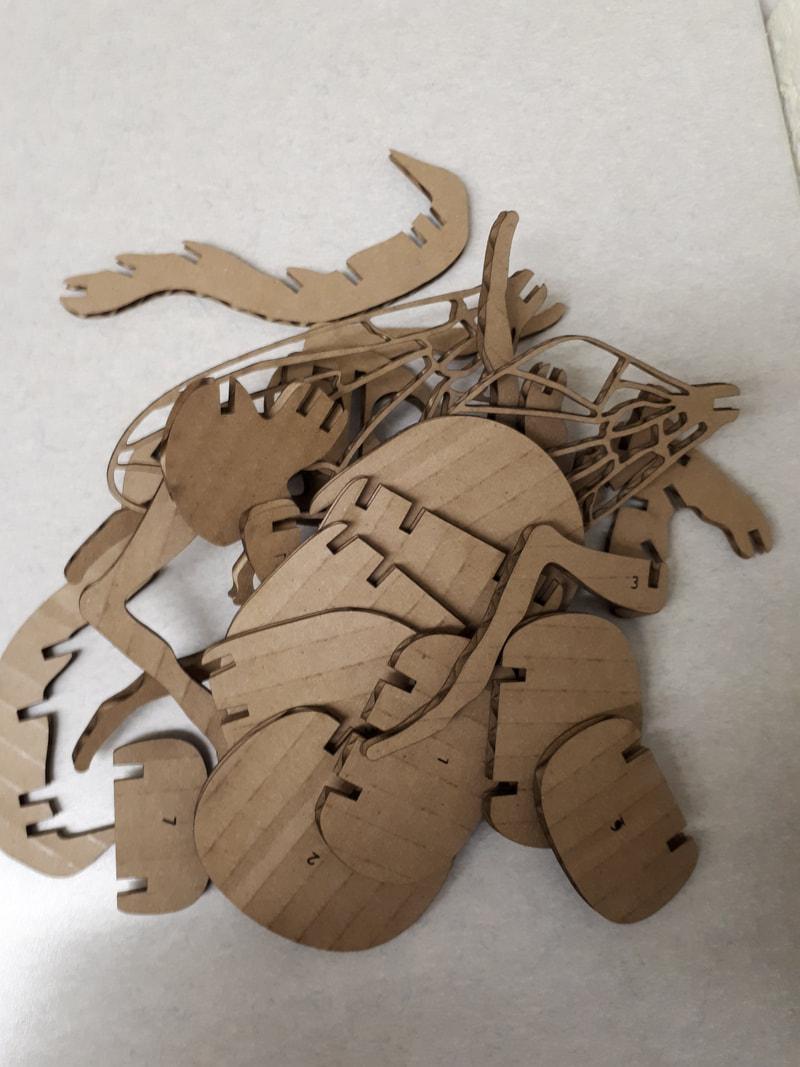
I opened the file and changed the stroke to 0.0001 in because the file had a thicker stroke. I than moved it to a USB drive, and brought down to the laser cutter. I opened the file in illustrator, clicked on print, opened the UCP, moved the file to where I wanted, and pressed play. The first time I tried cutting it, the cardboard caught on fire because the laser's power was set to maximum. On my second try, the laser's power was turned back down to 0%. This time it worked just fine. Once my part was cut, I was left with lots of small puzzle pieces that I had to put together. The instruction found in the folder I downloaded, were nor very clear. But It was quite easy to assume what went where using the numbers on the puzzle pieces.

Once done assembling all the pieces together, the result was good, even if assembling the pieces was an effort! But once the pieces together, they had a hard time moving.
The notebook covers:
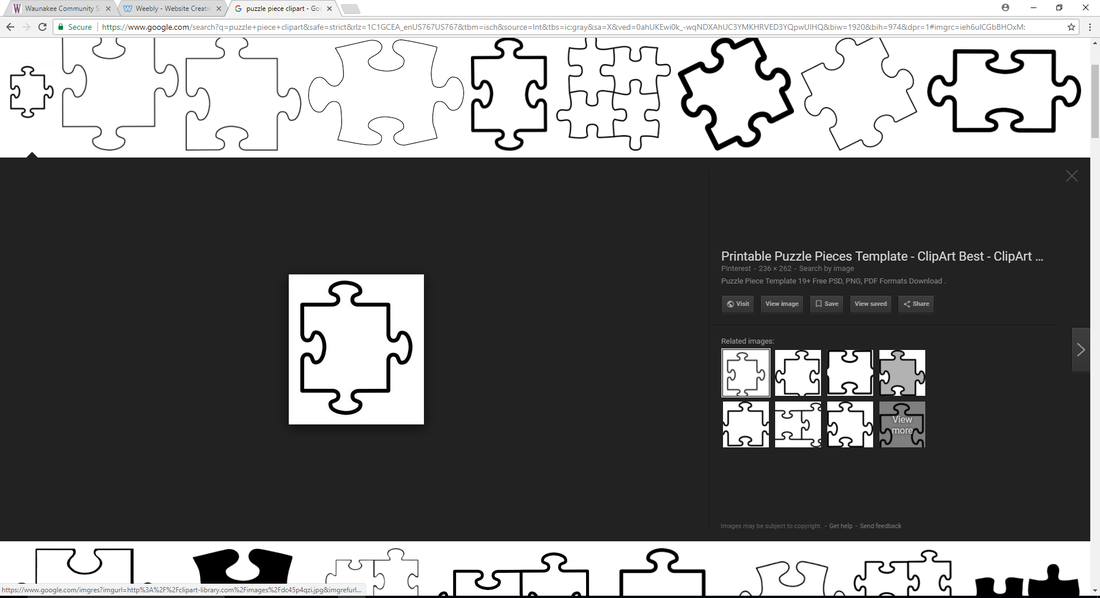
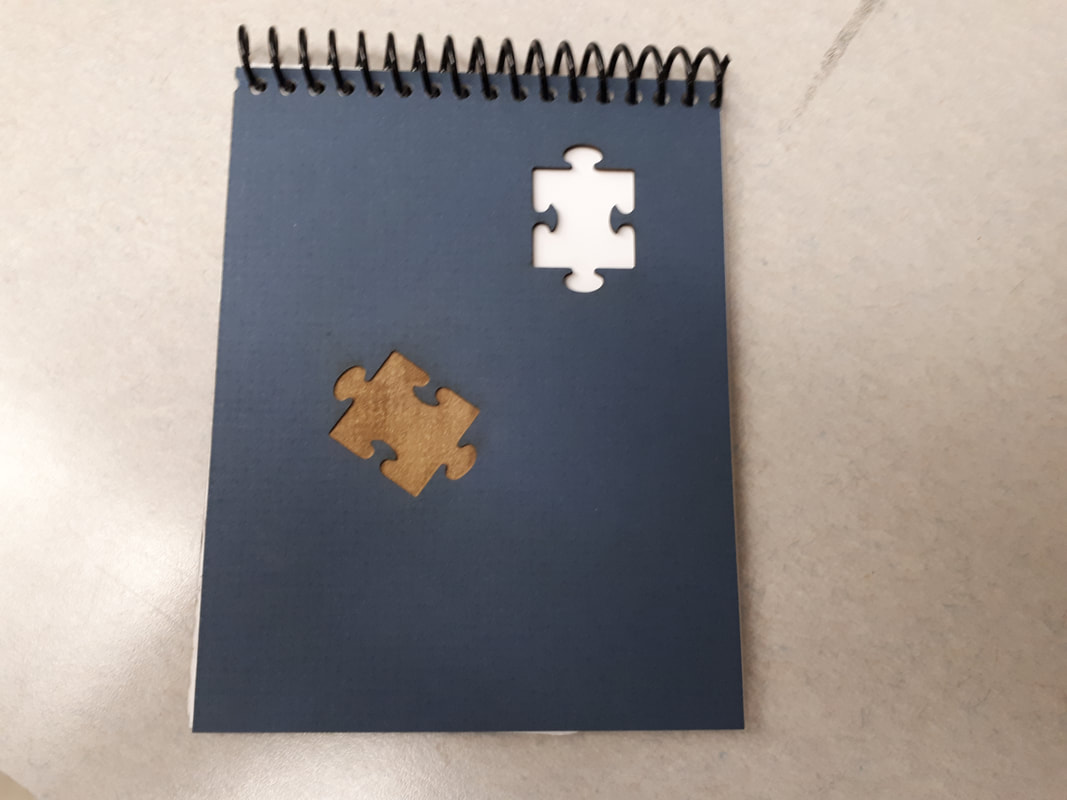
To make a notebook front, and back cover, I followed the same method as for the water bottle project. I typed in clip art on google and looked for some ideas. After looking for a while, I found a puzzle piece that inspired me. I thought of making a notebook with a puzzle piece missing on the first page, and on the last page, that "same piece", is back in it correct place.
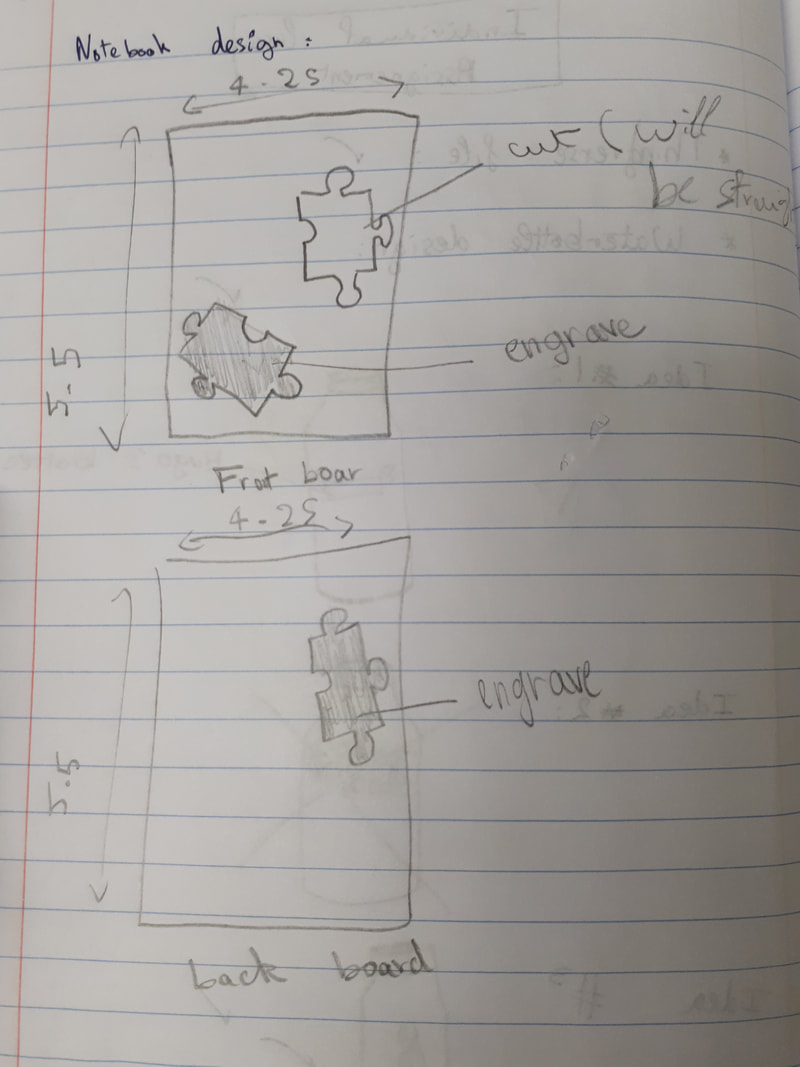
After having an overall idea of what I was making, I opened a new 4.25 x 5.5 inch document on Illustrator. These dimensions are the final dimensions of the notebook covers.
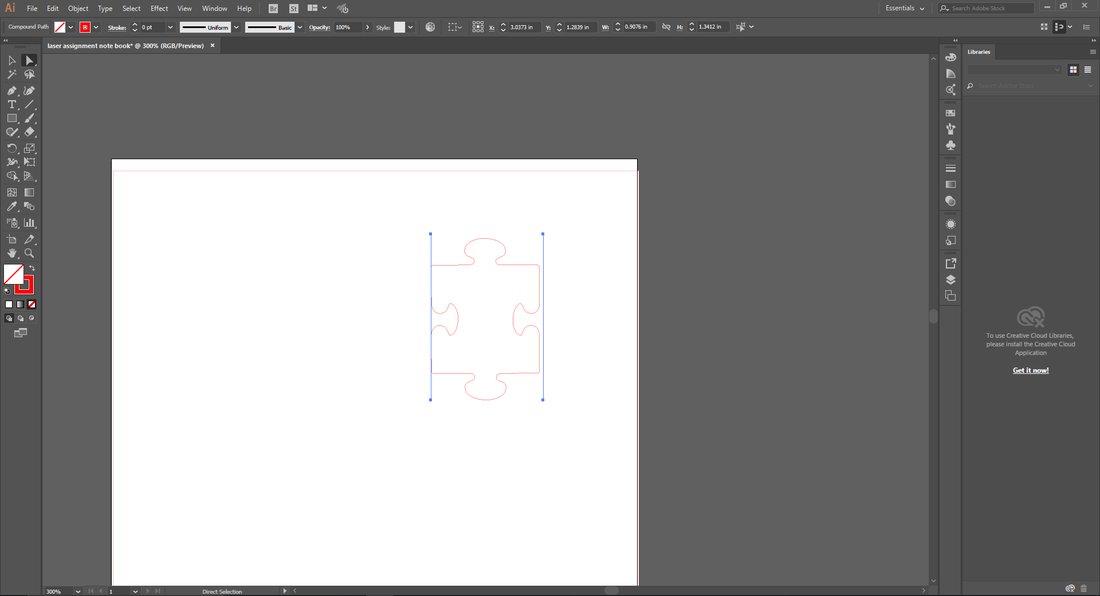
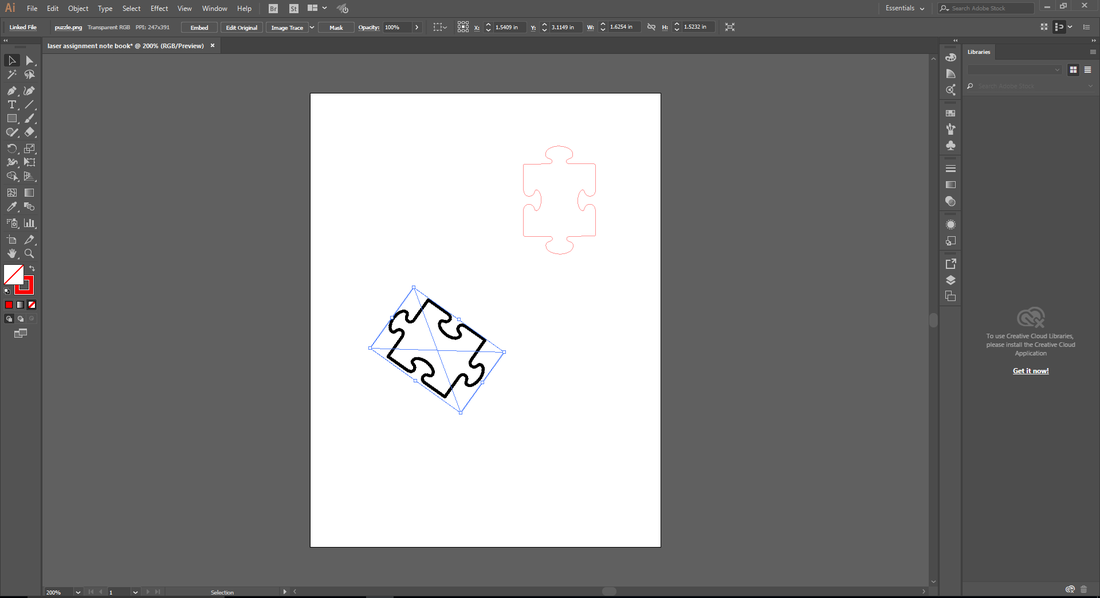
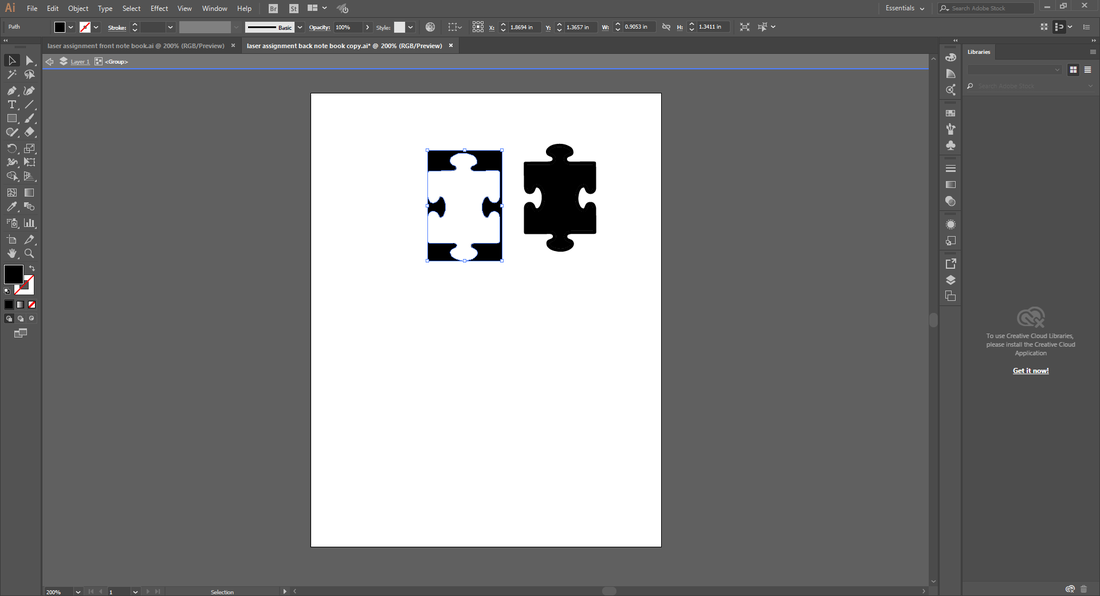
Then, I pasted the puzzle piece image on the document and moved to where I wanted it on the document. By selecting the image and clicking on "image trace" and than "expand" I changed the image to a vector file. Finally, I changed the stroke color to red, and the stroke thickness to 0.0001pt. That means that the laser will cut off that piece.

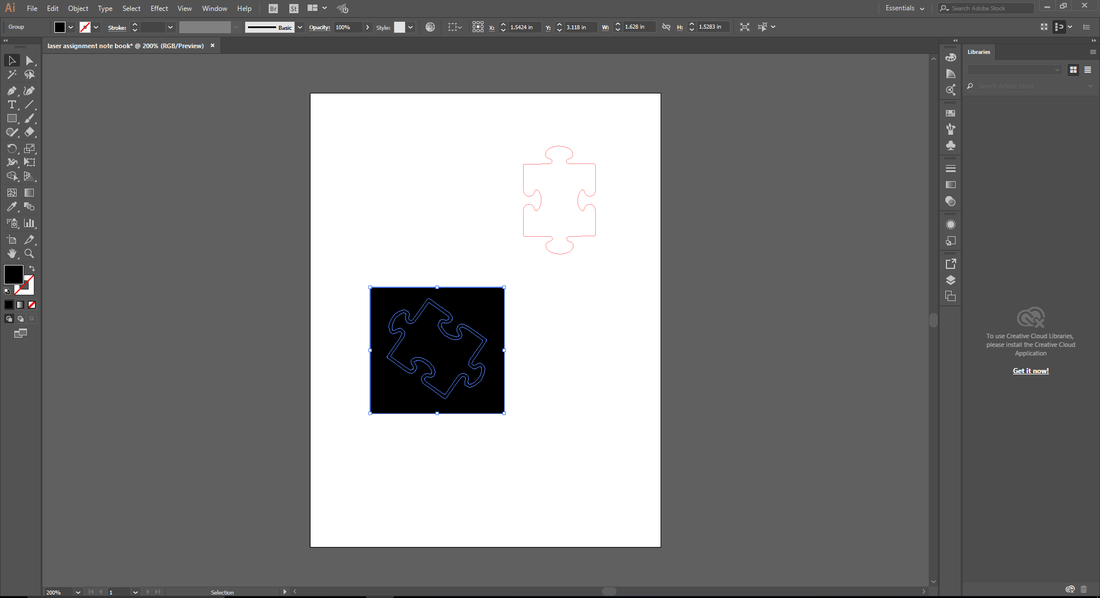
To make the engraved piece, I pasted the same image as before, and moved it to where I wanted it. Once again, I changed the image to a vector file. I than changed the fill color to black and deleted the outside part of the puzzle piece that changed to black in the process.
I finished the front cover of the notebook by selecting the outside line, and changing the stroke color to red, and the thickness to 0.0001pt.
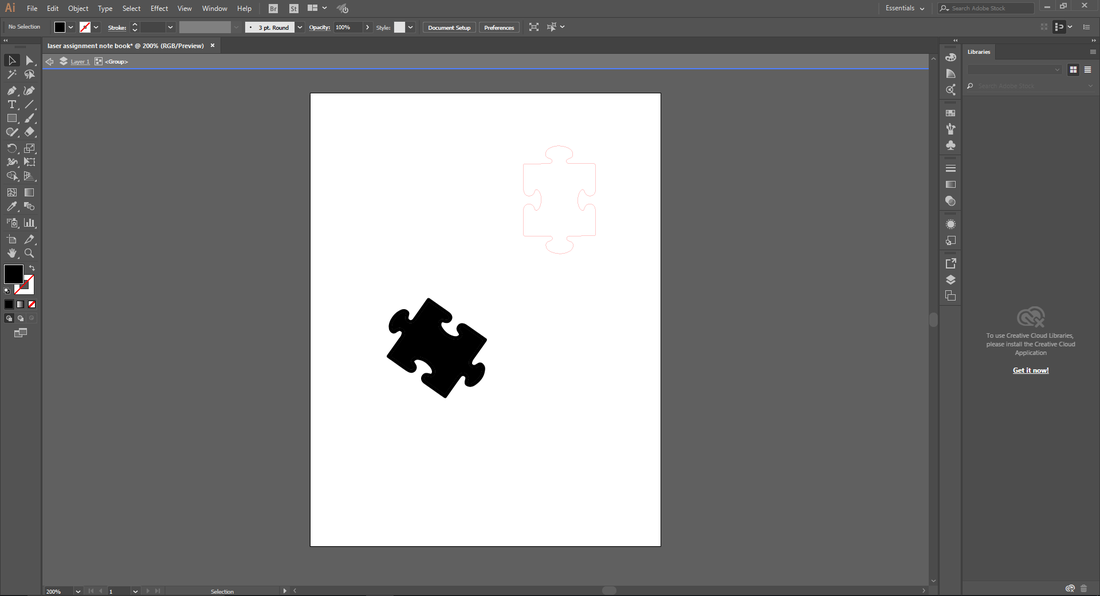
My next step was to do the back cover for my notebook. I started by pasting the same puzzle image. I changed it to a vector file, and filled it with black to engrave it. I deleted the black outside the puzzle piece, an checked that the puzzle piece was at the exact same position as the cut out puzzle piece on the front cover.
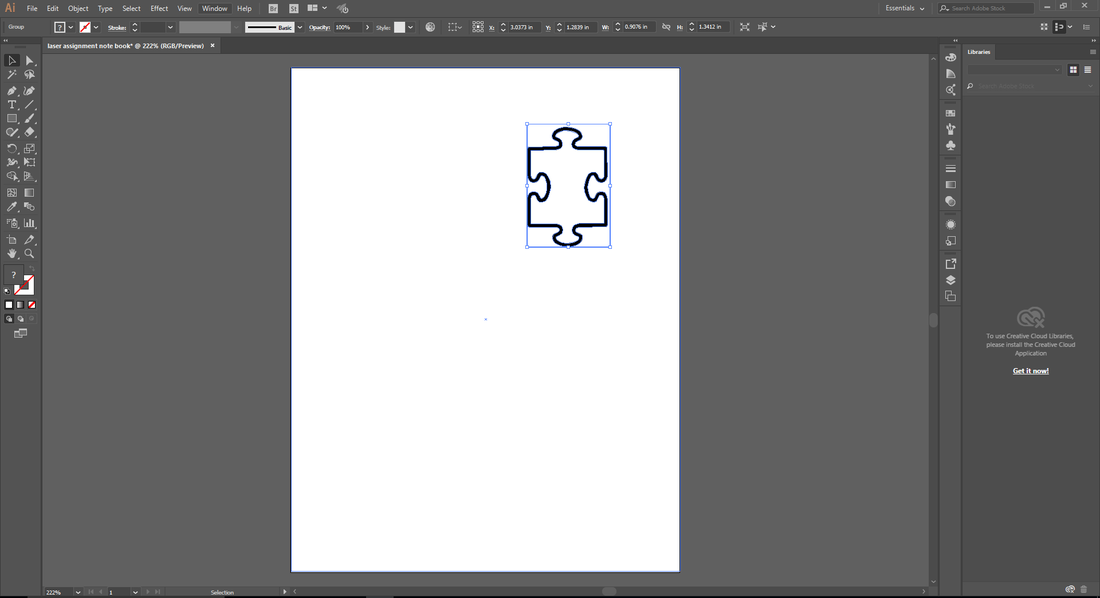
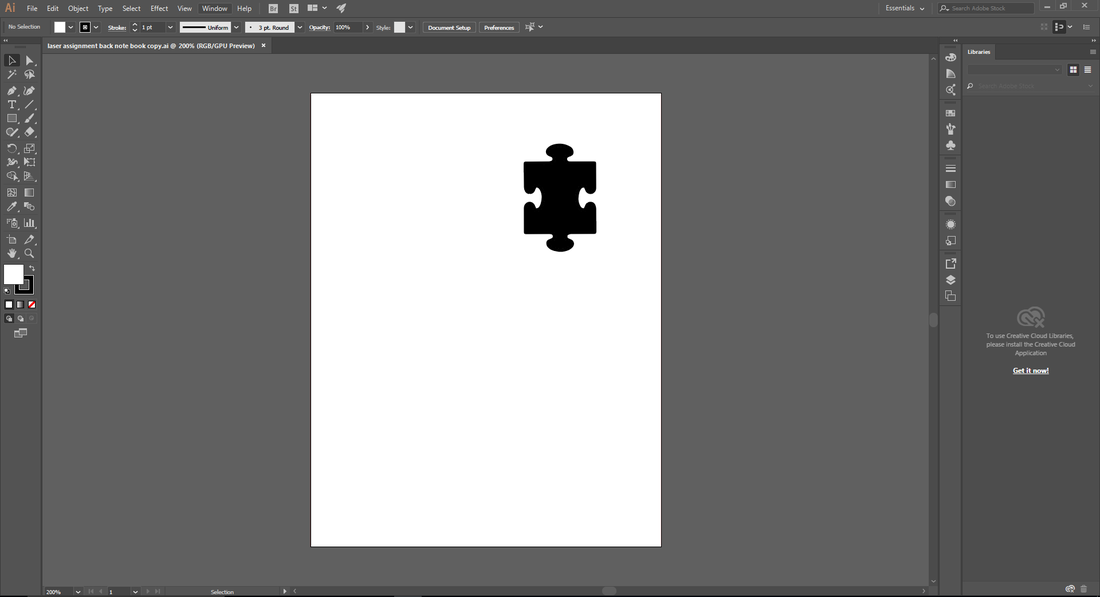
I finished the front cover of the notebook by selecting the outside line, and changing the stroke color to red, and the thickness to 0.0001pt.
After putting the front and back notebook cover files in a USB stick, I plugged the USB stick in the computer connected to the laser cutter and opened the front notebook cover file in illustrator. I pressed "print", and made sure that the correct machine was selected and that the settings were correct for the material I used. I clicked "print" and opened the UCP. I moved the file to the correct place, made sure the laser was going to stay on the material, and clicked on the play button. After the front cover was engraved and cut, I did the same for the back cover.
The assembly:
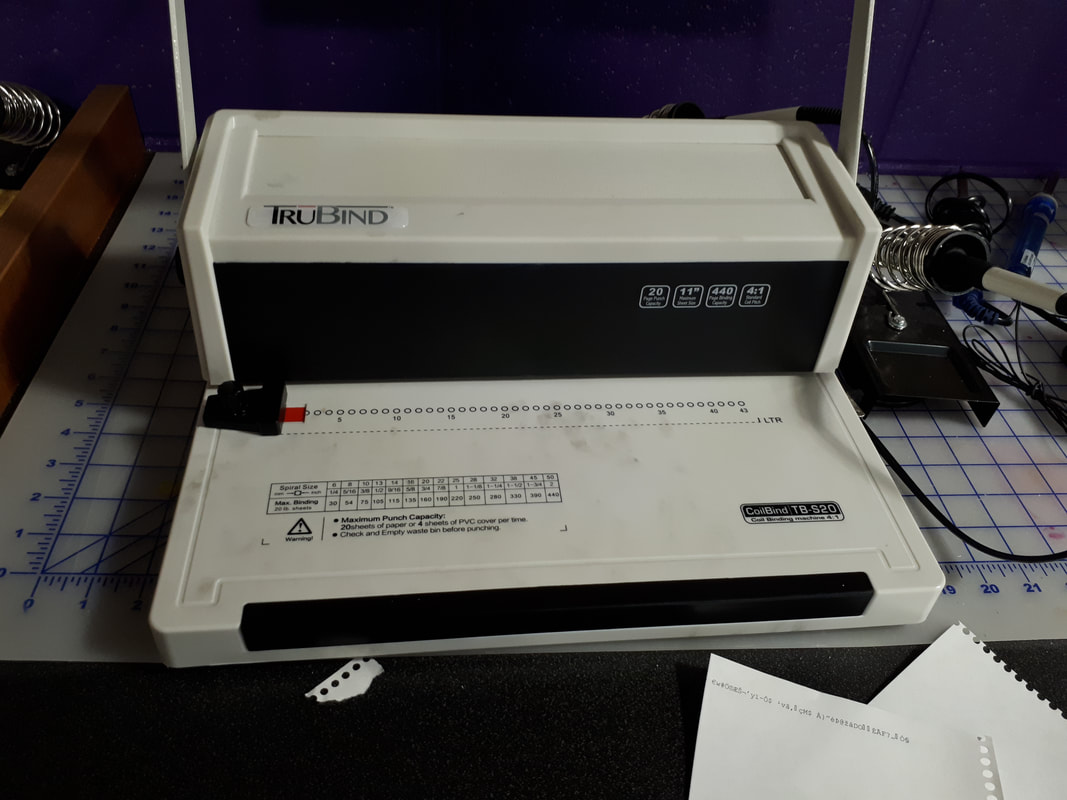
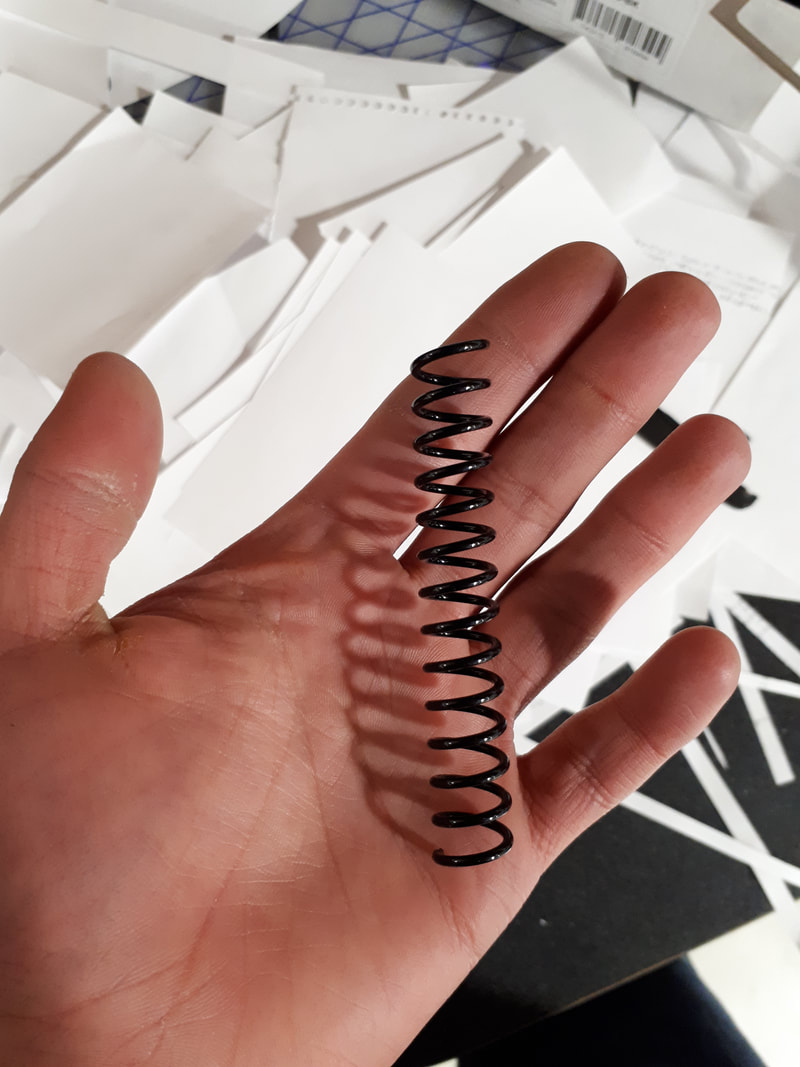
Once the 2 notebook covers where printed, I cut paper so that they have the same dimensions as the cover and punched holes on the top. I also punched holes in the back and front covers. I finished the notebook by attaching everything with one of those black plastic curl.
What did I learn?
On this rotation, I learned many things ( mostly because we had to make 3 objects ). The first thing I learned was to laser engrave a curved object and install the rotational part of the laser cutter. I also learned how thingverse.com works. I downloaded my first file from that website and laser cut it to make myself an great 3D puzzle. But most importantly, I learned how to manage my time. 3 projects needs some organization in that short period of time.
