What is 3D printing?
3D printing is an additive manufacturing progress which involves the building up of layers to create a solid object.
3D printing a widget
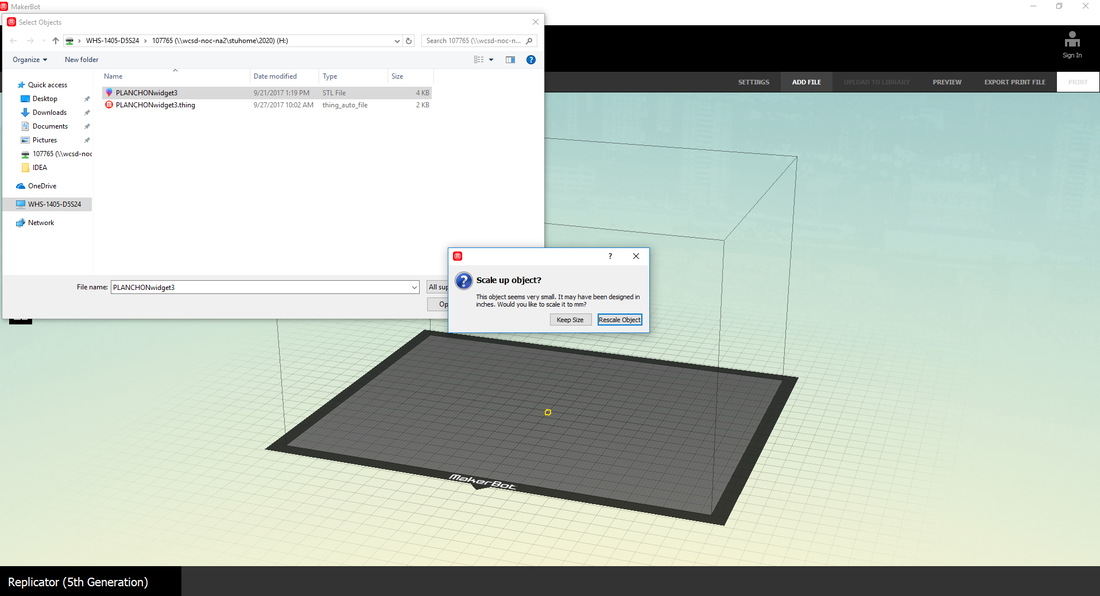
To 3D print something, you must first open your 3D printer software. We use MakerBot 3D printers so I am going to open MakerBot Desktop. I will than add my 3D file by clicking on "add file".

A window will pop up asking if you want to scale up the object, click "keep size".
To scale the object to it's original size, you must open the bottom icon and scale to 1000%.
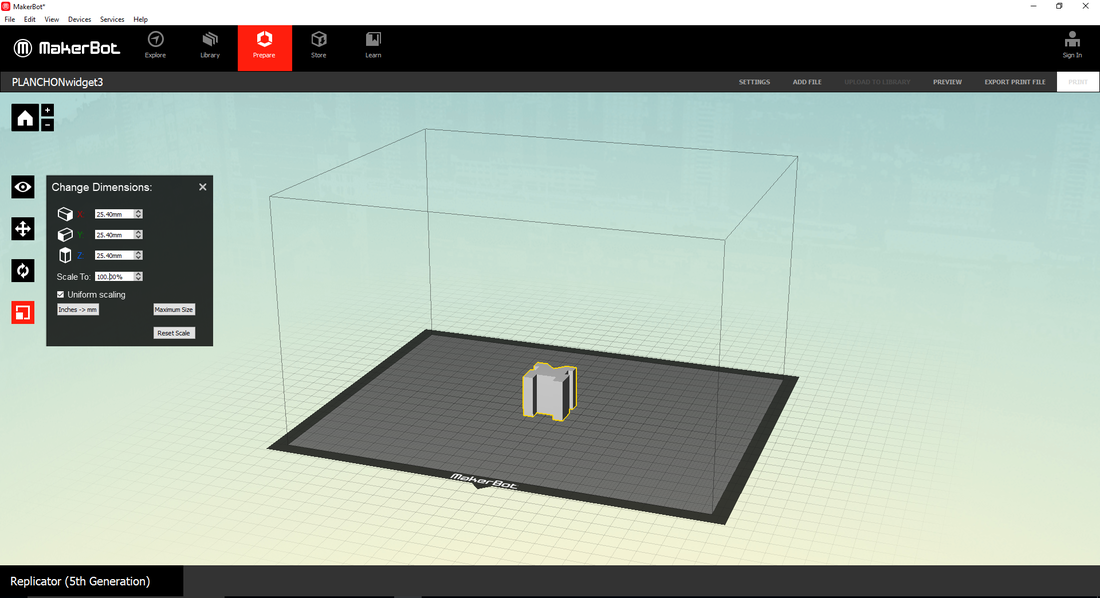
If your object is floating in the air, or is not centered, use the second icon to change it's position. If it's centered and on the ground, make sure that the shape will not tip over while being printed. You can than click on "preview" to see how long it will take to print, and see layer by layer how it should print.
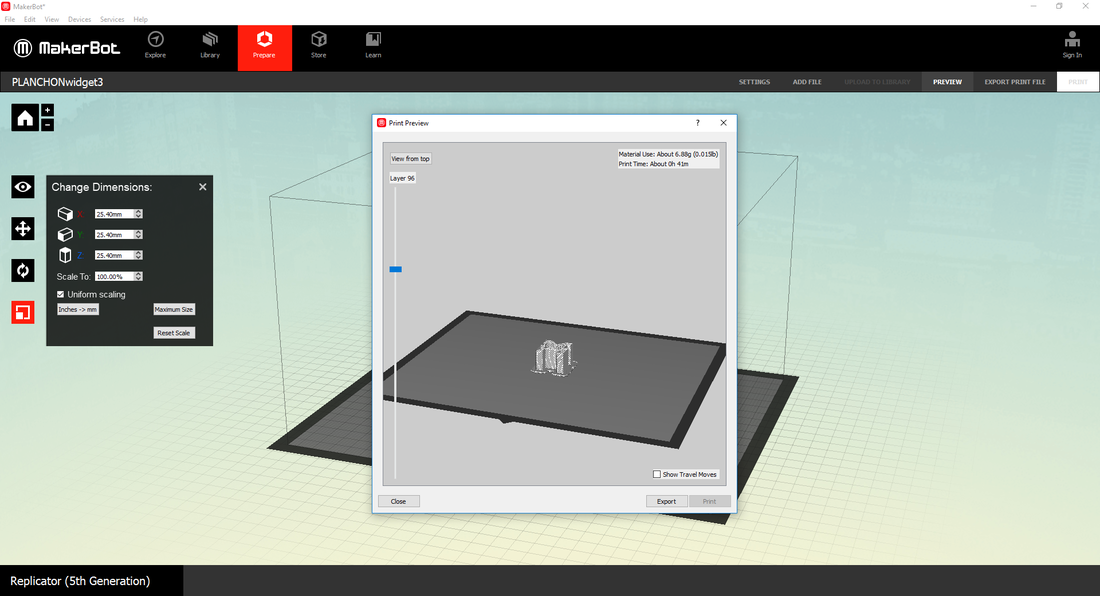
After that, click the "export print file" button and save your file.

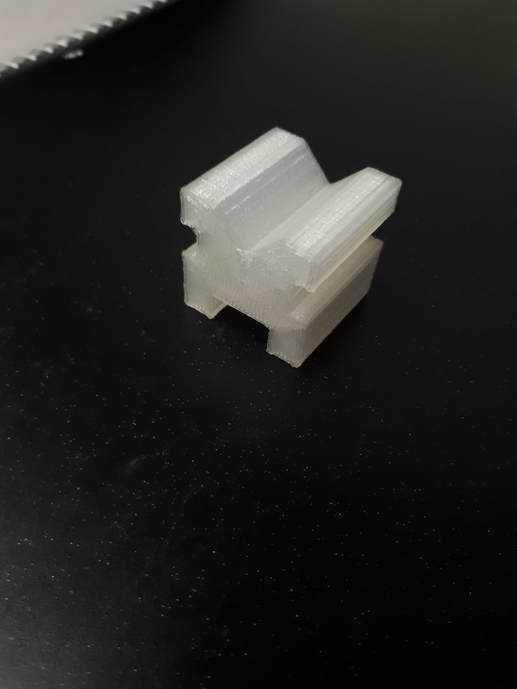
The last step is to put your file on a USB thumb-drive and to put it in the printer. And you are ready to print!
The printed widget:
What did I learn?
The 3D printing process isn't hard at all. it's almost like printing something on a normal printer except that we use a software (in this case MakerBot desktop) to preview and make sure everything is ready to print. I learned how to use this software pretty fast. The software itself is very basic but very effective. I then learned how to use the 3D printer. It works just like a normal printer so that wasn't hard.
