The inception of the project:
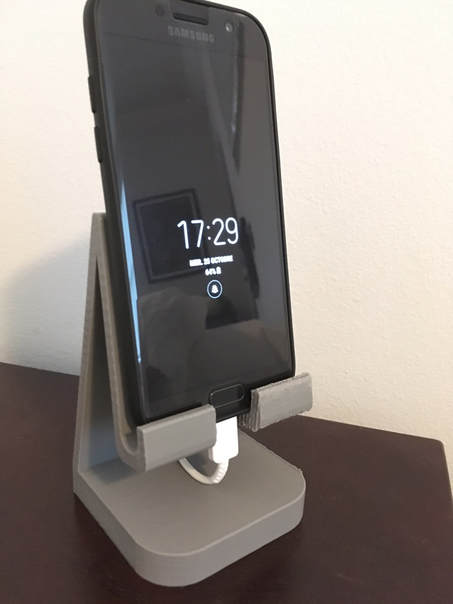
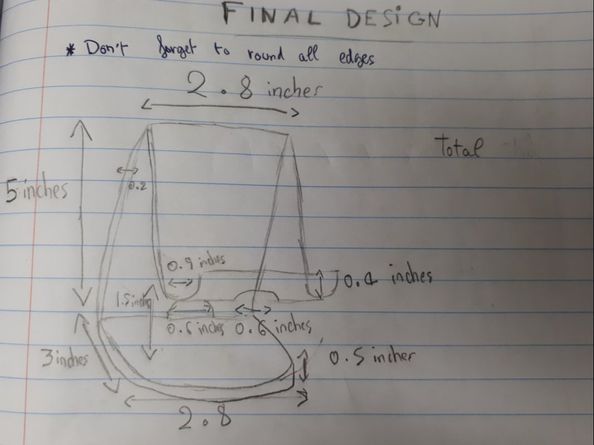
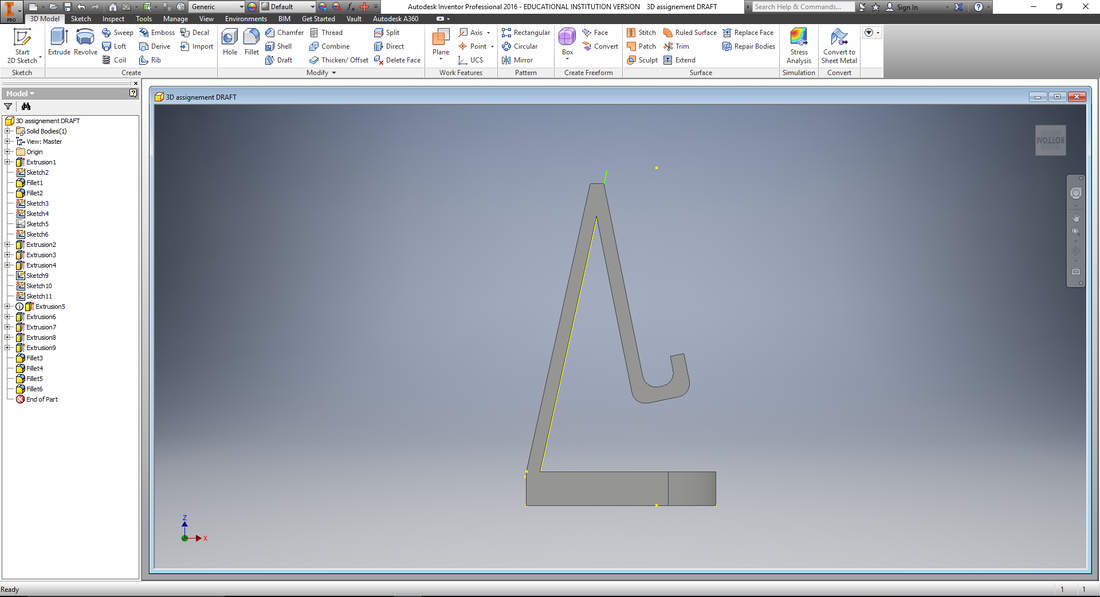
For this rotation, I had to think more about the design and dimensions of the phone holder, while considering the dimensions of my phone. I had many different ideas, but I was looking for something minimalist, that would still allow my phone to charge. After a few tries, I came out with a design that I really liked. I than started to add the dimensions to it. I gave it a thick base of 0.5 inches because I wanted slightly more weight on the bottom, for the stand to be more stable. I also wanted it to not be to big, so I gave it a thin body. I also had to leave some space under the holding part for the charger cable to fold (it needs a lot of room because it is not very flexible). This is what I came out with:
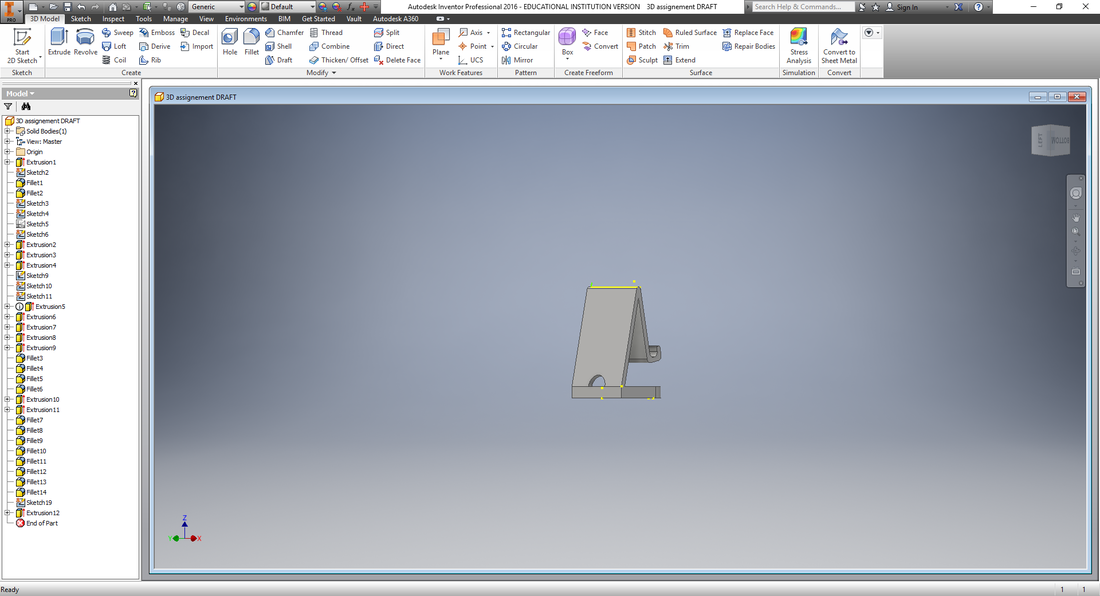
Creating my 3D file:
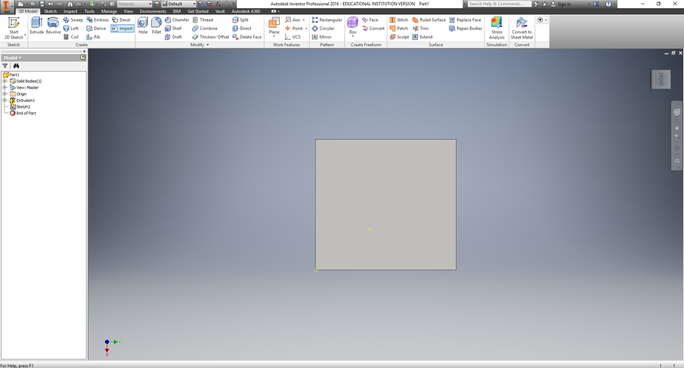
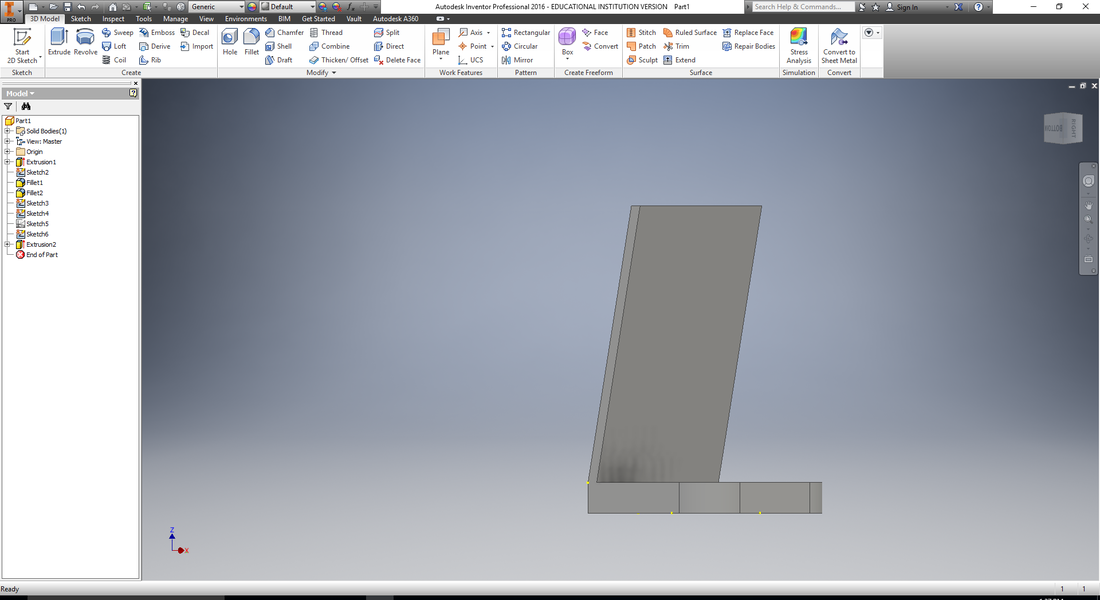
After opening Inventor, I created a new file, and started a 2D sketch of a square. This square will later be my base. I gave it the correct dimension and clicked on "finish 2D sketch". I than extruded it by 0.5 inches.
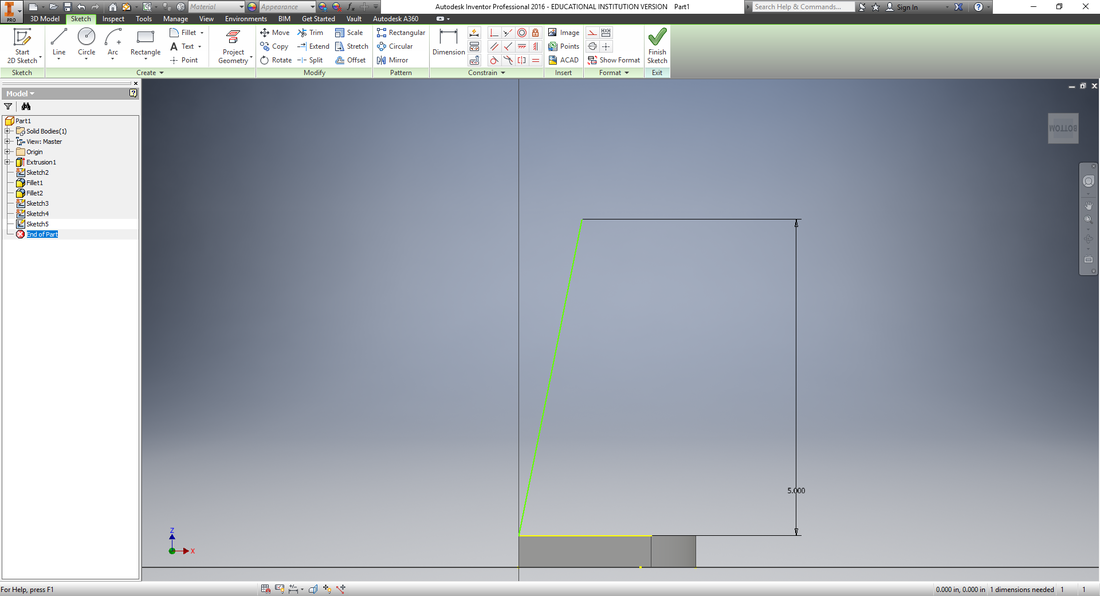
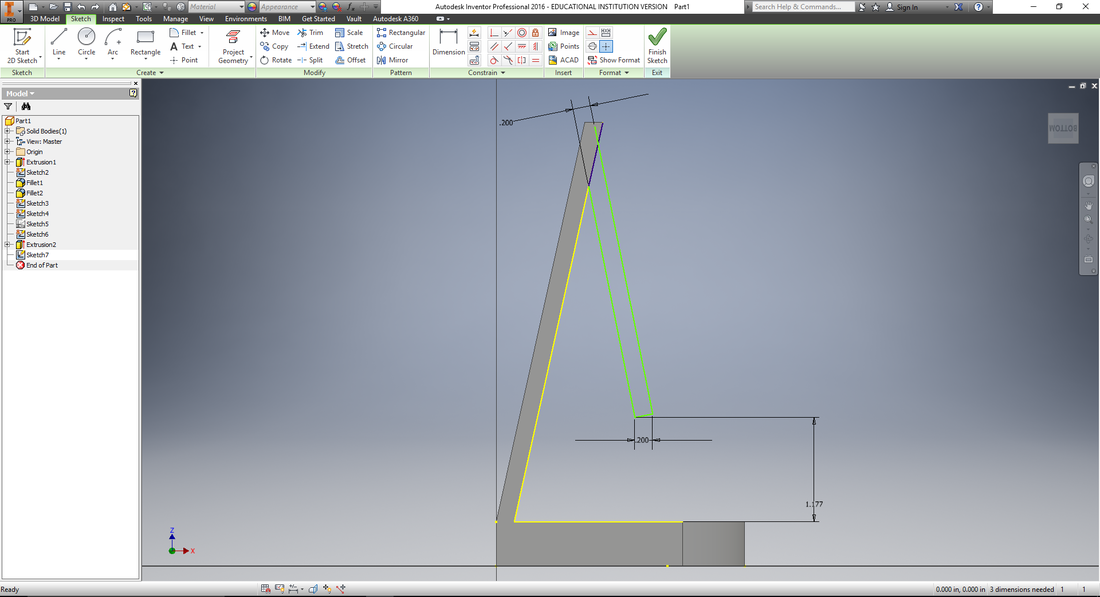
After that, I started another 2D sketch and drew the shape I wanted this piece to have. I repeated what I did for the base: I gave it the proper dimensions, and extruded it, this time, by 0.2 inches. I did that with every other piece of my part.
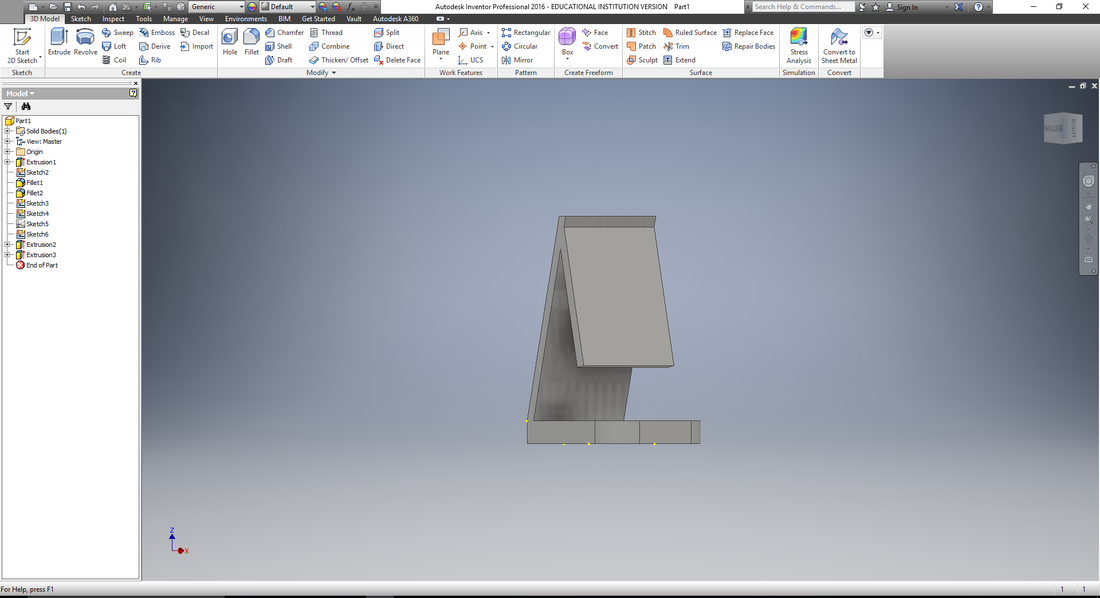
Be my phone is roundish in the bottom part, I needed to make my holding part round. I used the fillet tool to round the edges.
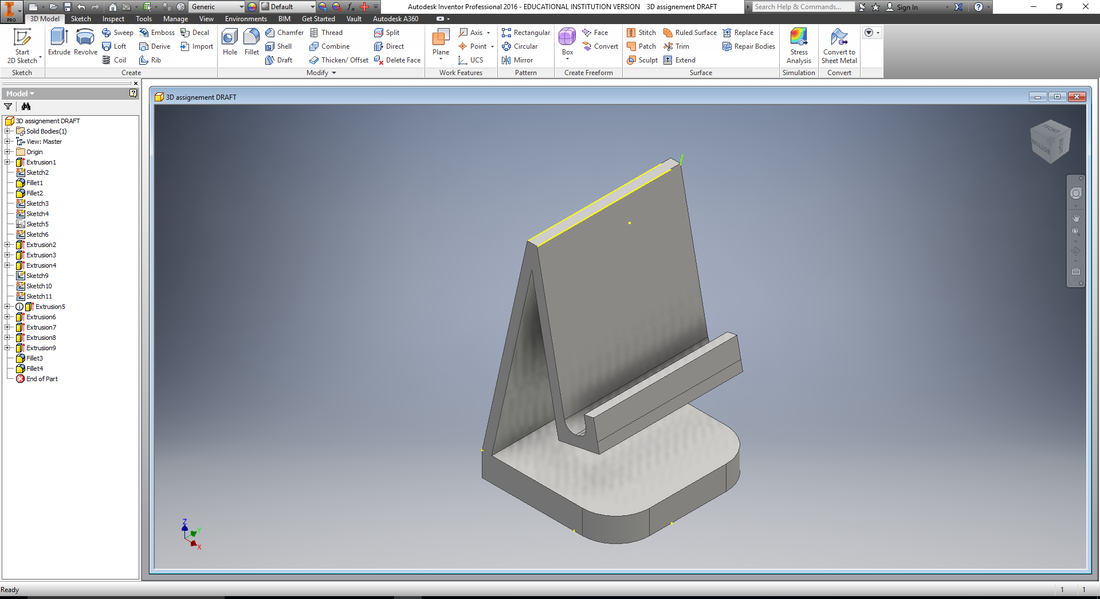
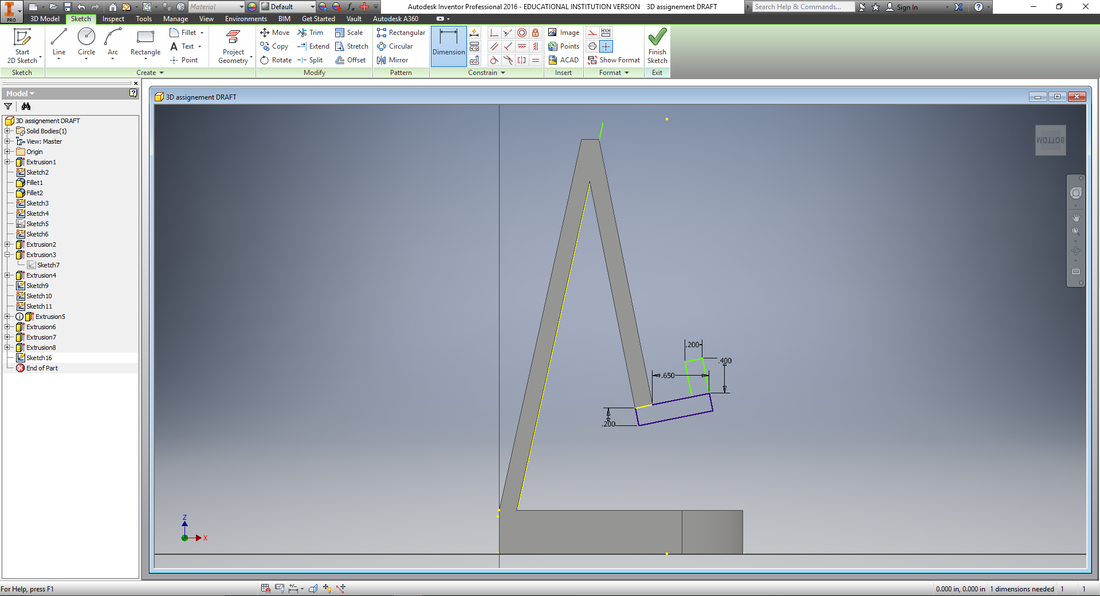
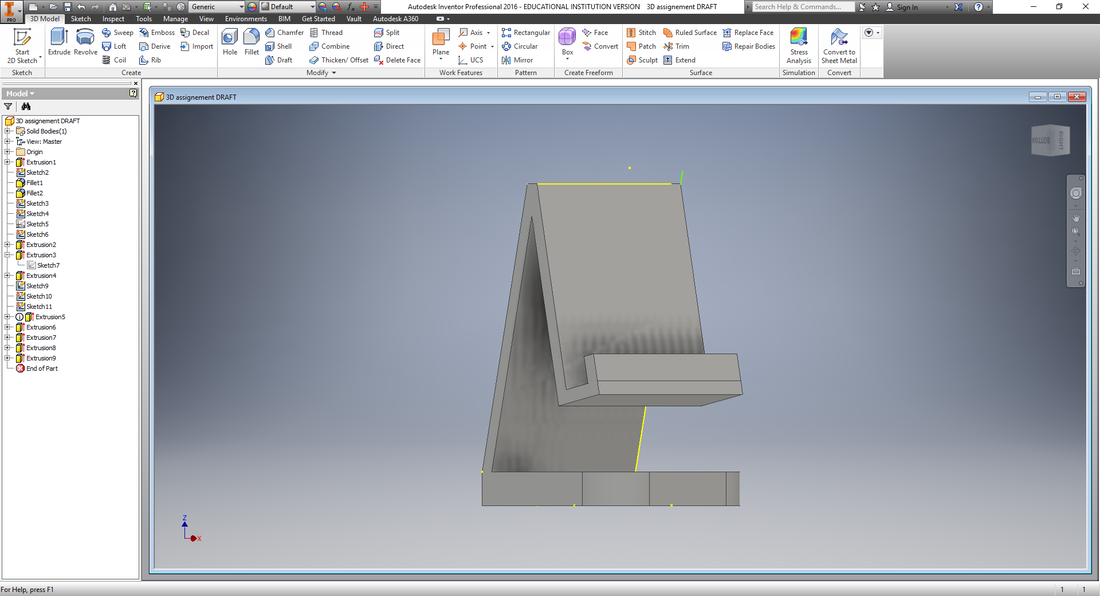
I now had a rough shape of what my phone stand is going to be. But I know needed to cut the holes for the cable to go through, and to have access to my home button.. So I started to draw a 2D rectangle sketch on the "front lift". For the dimensions I needed at least 0.4 inches for my cable to go threw. But to be more safe I gave it 0.6 inches. I than extruded the shape and rounded most of the edges using the fillet tool.
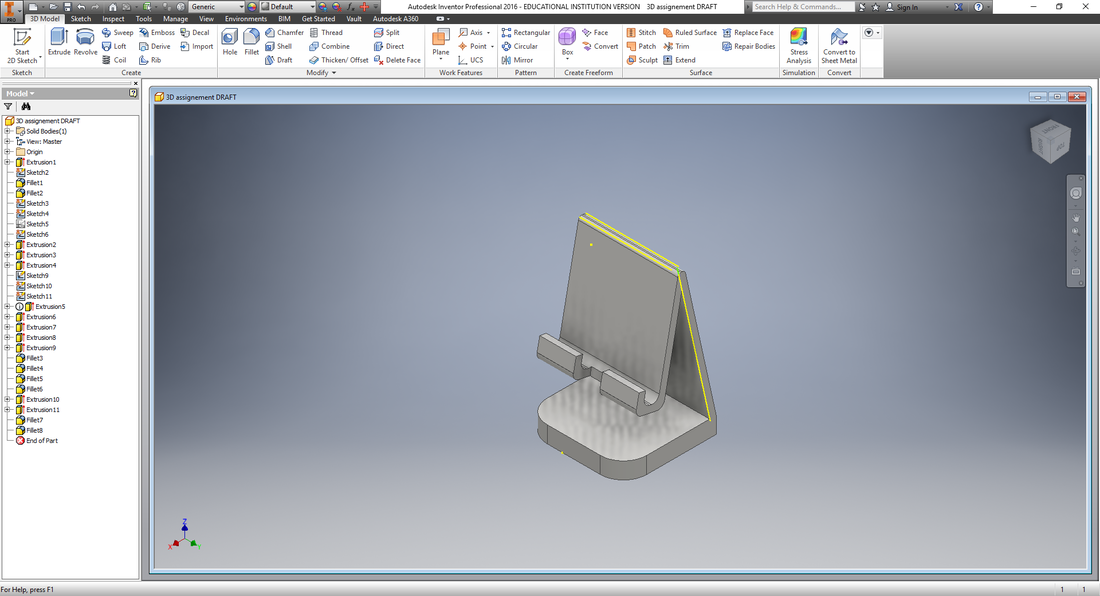
The only thing left was to make a hole to let the cable go through the back part. I started a new 2D sketch and made a half circle using the 3 point arc tool. After the sketch was done, I extruded it and saved my file.
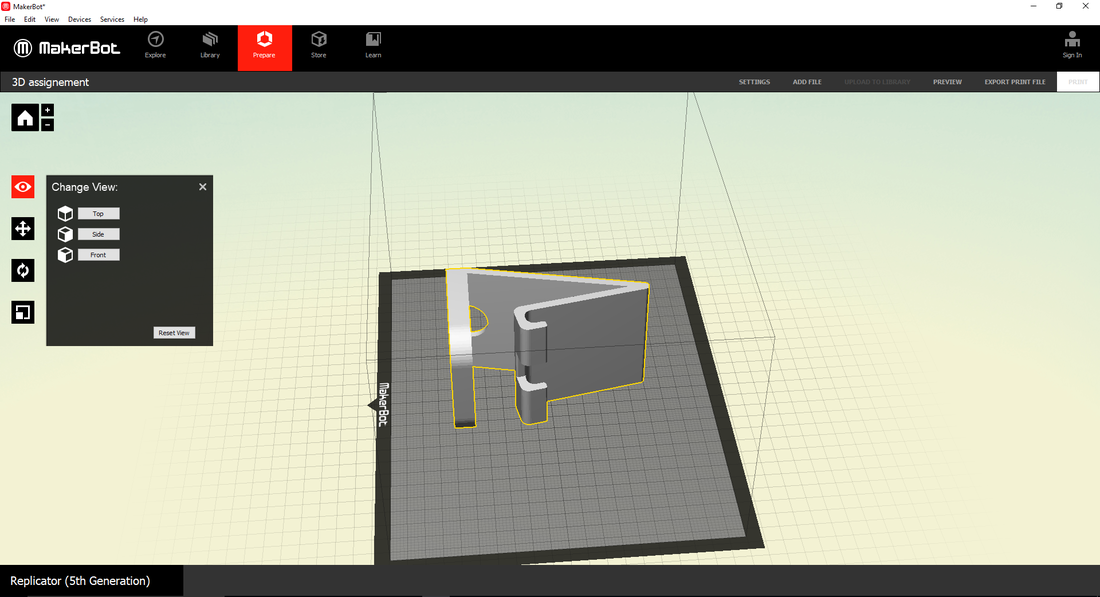
Printing my phone stand
After opening my file in MakerBot Desktop, I upped the scale of my stand to 1000%. I than rotated my part on it's side to make it easier to print.
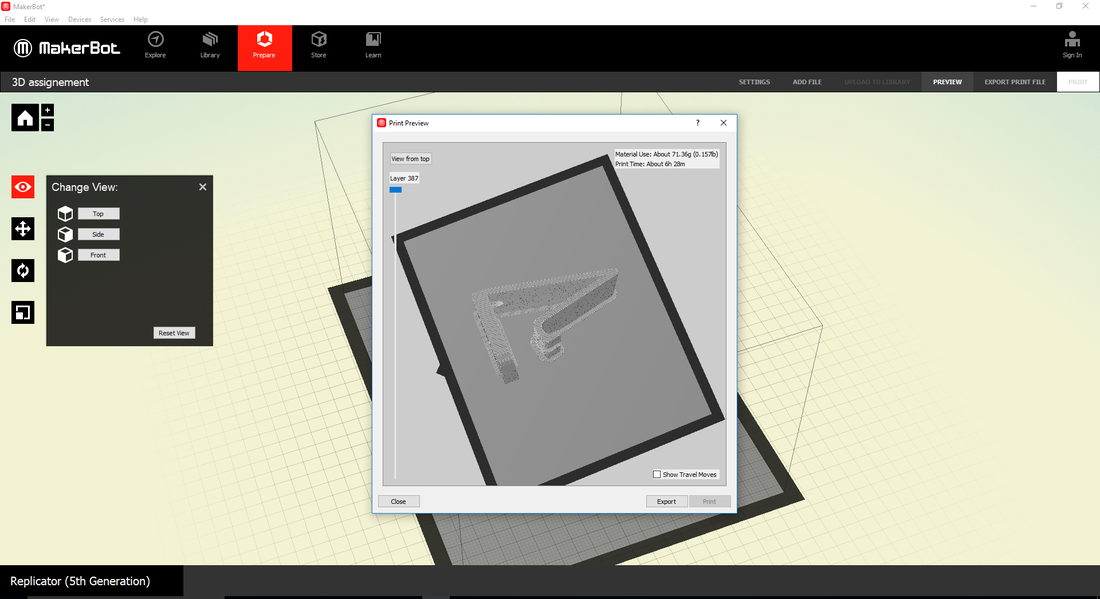
In the settings menu, I added supports because the holes for the cable might not hold when printing. I left the printing quality in standard. I previewed to see how long my printing was going to take, it said a little over 6 hours. I than saved my file onto a USB flash drive, inserted it into the 3D printer, and I printed it. 6h and 20min later my part was printed!
What did I learn?
In this rotation, I feel like I've learned more than in the previous one. It is the first time I've ever designed something from scratch using my imagination. The feeling of making something that is yours, and being the only one to have it, is very satisfying. Now, I have a nice phone stand that I am proud to show people and that is useful every day.